Toasted oats, peanut butter, dried blueberries and maple syrup make chewy, sturdy bars for breakfast, snacks or dessert.
Grab-And-Go Peanut Butter Blueberry Oat Bars Recipe
A homemade snack bar earns its keep when it’s easy to pack and sturdy enough to survive the trip. These peanut butter blueberry oat bars make a good case for a little extra prep: toasting the oats first gives them a deeper, nuttier flavor and helps the finished bars hold together when the warm peanut butter mixture goes in.
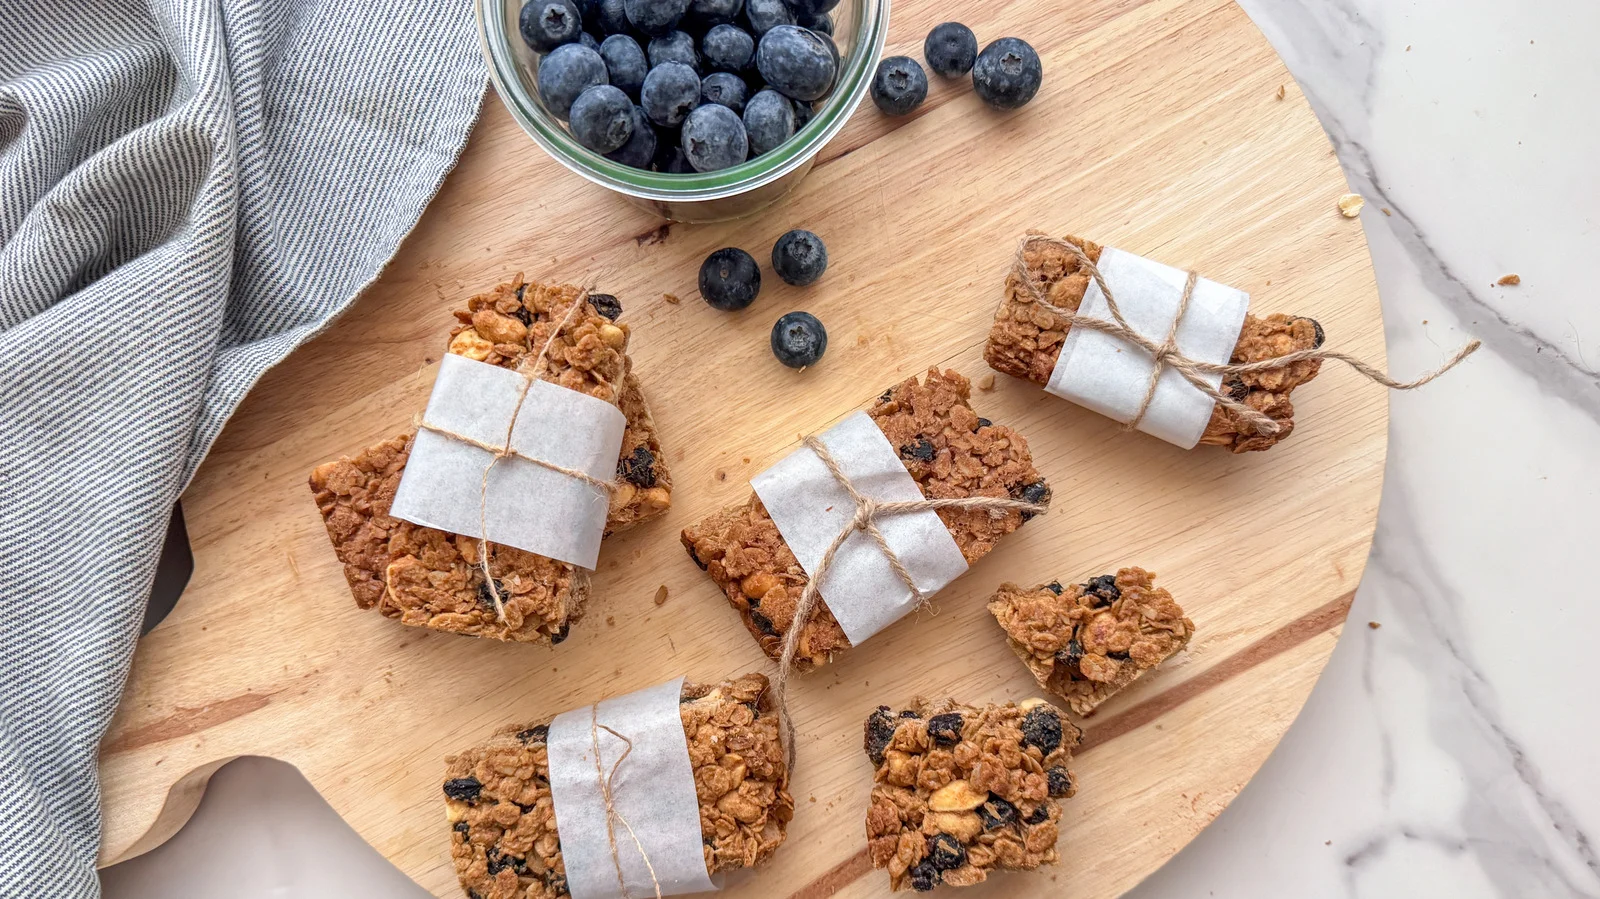
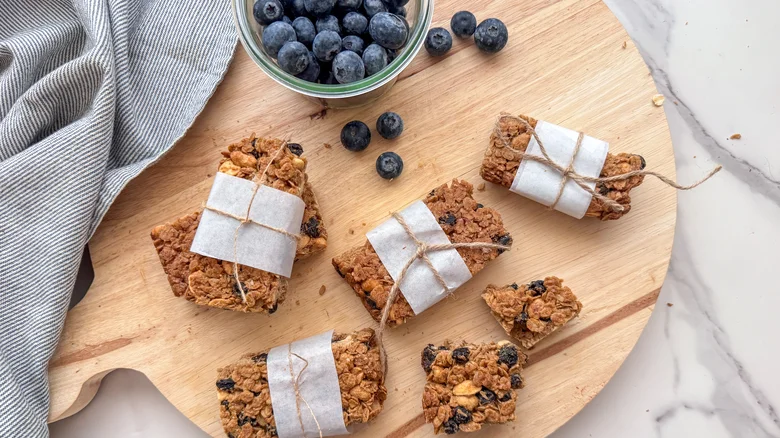
The flavor lands somewhere between a peanut butter cookie and crunchy granola, with chewy dried blueberries, brown sugar and maple syrup for a caramel-like sweetness, plus vanilla and cinnamon. They’re suited to breakfast, a quick snack or dessert. And because you’re making them yourself, you can see what goes into the batch. For a gift or a guest-friendly presentation, wrap each bar in parchment and tie it with twine.
Gather the ingredients
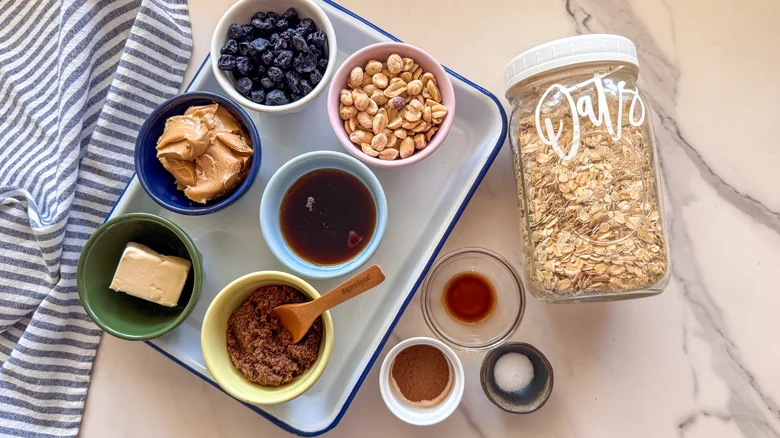
Use old-fashioned rolled oats; quick oats are too delicate for the texture, while steel-cut oats stay hard. Creamy no-stir peanut butter is the simplest choice. Natural peanut butter can work if you stir its oil in thoroughly, which helps keep the bars from turning greasy. Almond butter is another option.
For sweetness, choose light or dark brown sugar alongside maple syrup. Dark brown sugar brings a stronger molasses note. Roasted peanuts, or another nut, add crunch. Use dried blueberries rather than fresh fruit: fresh berries bring extra moisture and can shorten the bars’ shelf life. Dried cranberries, cherries or chopped dates can stand in. You’ll also need unsalted butter, vanilla extract, ground cinnamon and salt.
Prepare the pan and oats
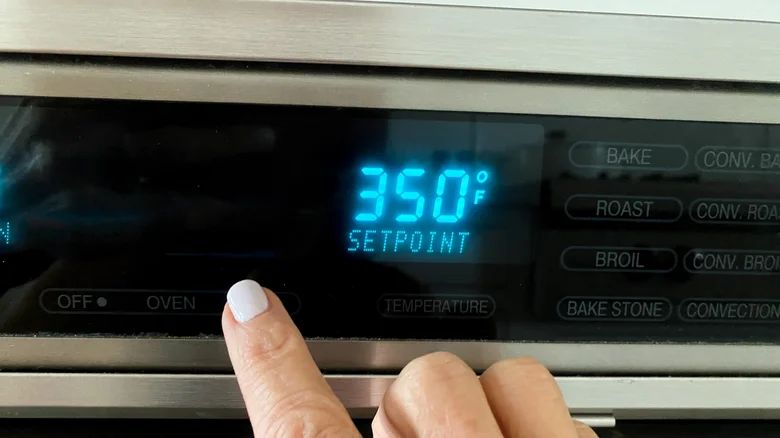
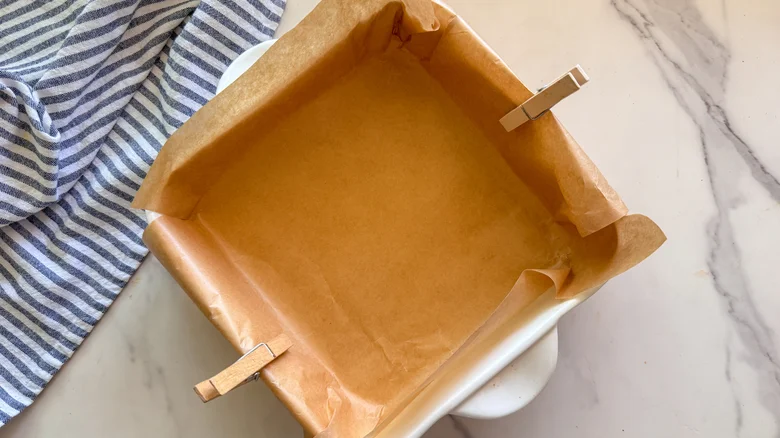
Heat the oven to 350°F. Line an 8-inch square pan with parchment, leaving paper overhanging two sides so you can lift the bars out later.
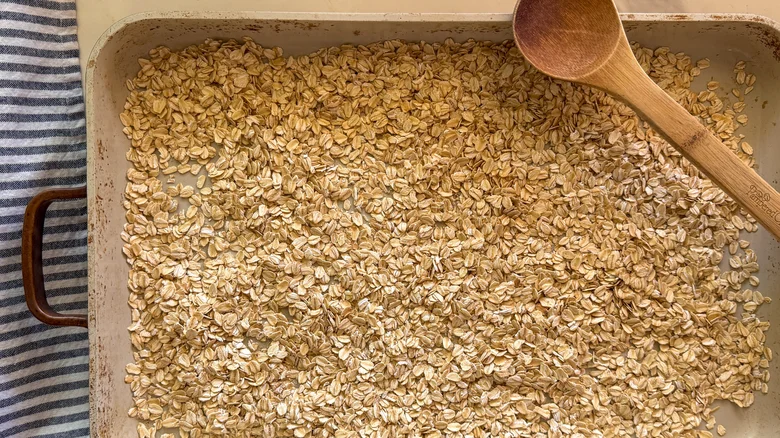
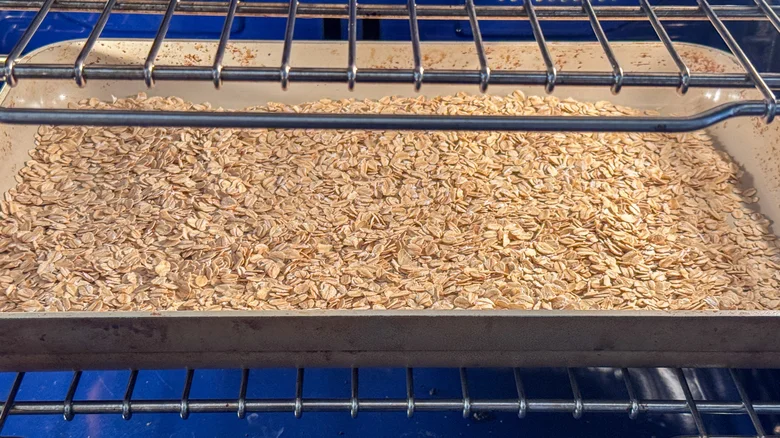
Spread the oats across a rimmed baking sheet and toast them for 8 to 10 minutes, until fragrant and lightly golden. It’s a small step, but it adds flavor and gives the bars more structure.
Make the peanut butter mixture
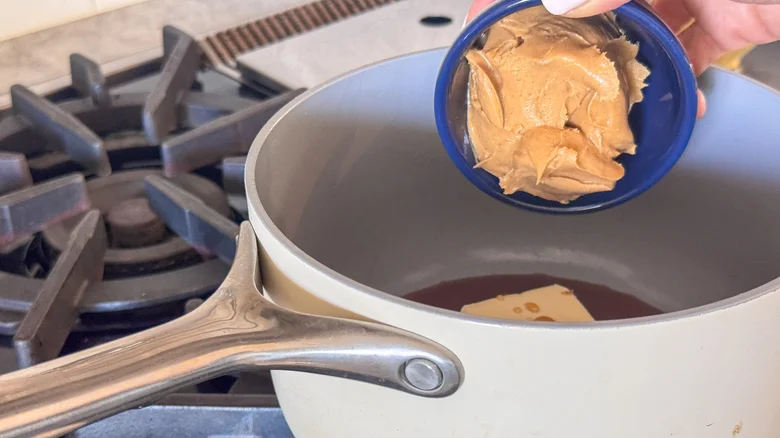
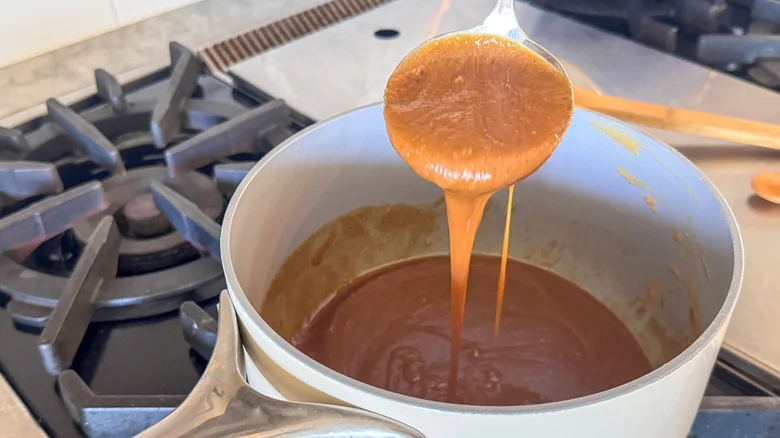
Put the peanut butter, brown sugar, maple syrup and butter in a medium saucepan. Set it over medium-low heat and stir for about 5 minutes, until the mixture has melted and turned smooth.
Getting the texture right
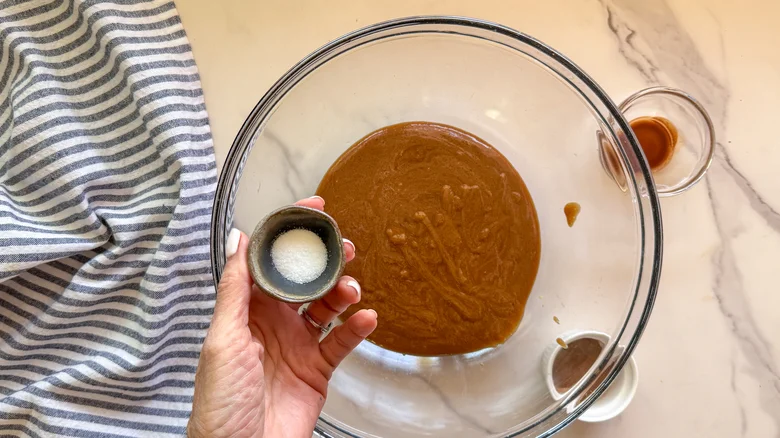
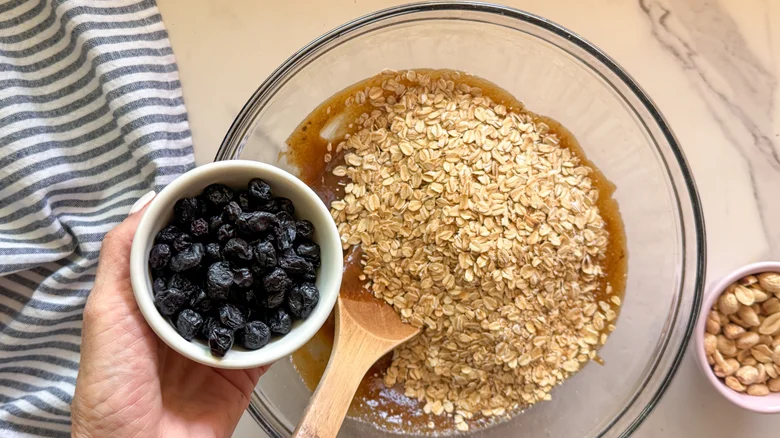
The binding mixture needs to coat every piece of oat and fruit; that’s what helps the bars hold together once they’re cut. After moving it to a large bowl, stir in the vanilla, cinnamon, and salt. Fold in the toasted oats, chopped roasted peanuts, and dried blueberries until they’re evenly distributed.
 Tasting Table/Miriam Hahn
 Tasting Table/Miriam Hahn
Bake, cool, then slice
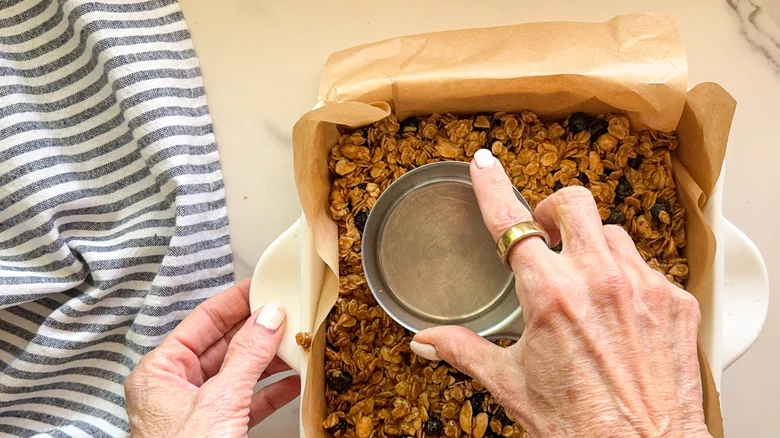
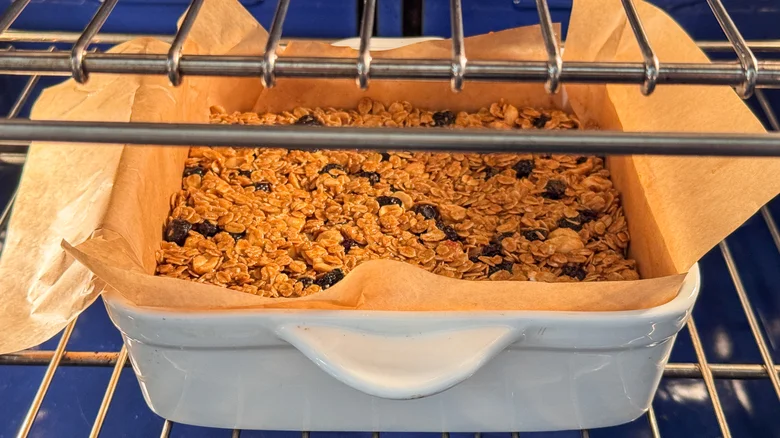
Scrape the mixture into the parchment-lined pan and pack it into a flat, firm layer with the bottom of a measuring cup. Don’t skip the pressing: a loose layer can make for crumbly bars. Bake at 350°F until the edges turn golden and the center looks dry, about 18 to 20 minutes.
 Tasting Table/Miriam Hahn
 Tasting Table/Miriam Hahn
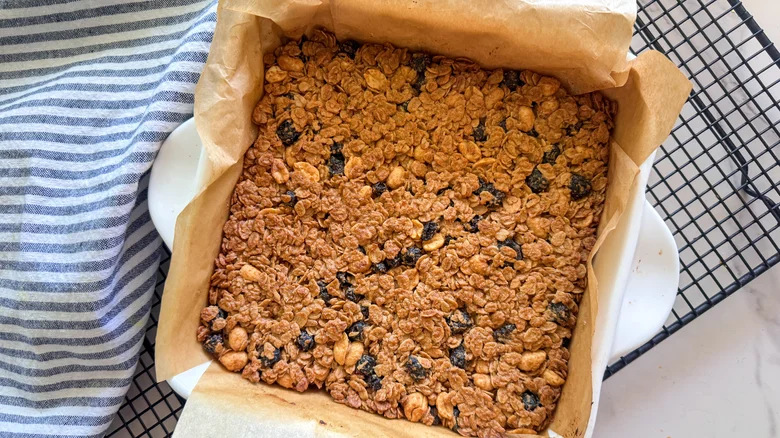
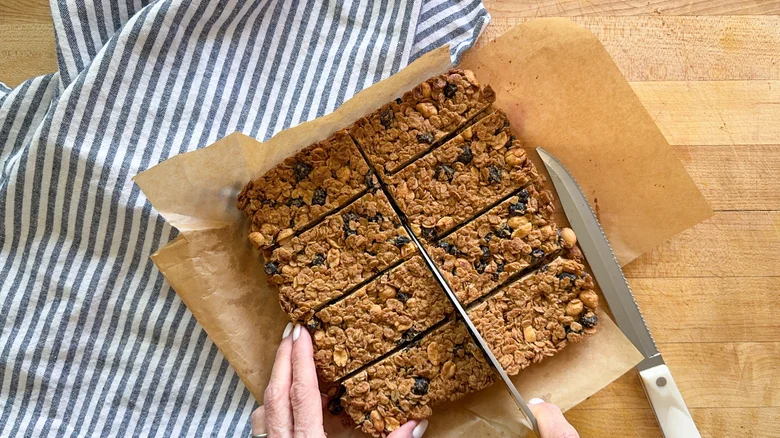
Let the pan cool completely, roughly an hour, before lifting the slab out by the parchment overhang. Cut it into 12 bars. The wait may feel fussy, but warm bars are more likely to fall apart.
 Tasting Table/Miriam Hahn
 Tasting Table/Miriam Hahn
What to have alongside
These bars make an easy snack on their own, though a smoothie or coffee drink can turn one into a more substantial breakfast. Try a coffee smoothie, a summer green smoothie, or a plant-based matcha smoothie. For a fruitier pairing, there’s also a Black Forest smoothie or a sweet potato smoothie.
Grab-and-Go Peanut Butter Blueberry Oat Bars
Toasted oats, peanut butter, and chewy dried blueberries make these bars a portable pick-me-up. The recipe takes 15 minutes to prep and 35 minutes to cook, for 50 minutes total, and yields 12 servings. The recipe has no ratings.
Ingredients
- 2½ cups old-fashioned rolled oats
- ⅔ cup creamy peanut butter
- ¼ cup packed light or dark brown sugar
- ⅓ cup maple syrup
- 3 tablespoons unsalted butter
- 1 teaspoon vanilla extract
- ½ teaspoon ground cinnamon
- ¼ teaspoon salt
- ½ cup chopped roasted peanuts
- ¾ cup dried blueberries
Directions
- Heat the oven to 350°F.
- Line an 8-inch square pan with parchment, leaving an overhang on two sides.
- Spread the oats on a rimmed baking sheet.
- Toast for 8 to 10 minutes, until fragrant and lightly golden.
- In a medium saucepan over medium-low heat, stir together the peanut butter, brown sugar, maple syrup, and butter.
- Cook for about 5 minutes, stirring, until the mixture is smooth and melted.
- Pour into a large bowl and mix in the vanilla, cinnamon, and salt.
- Stir in the toasted oats, peanuts, and dried blueberries.
- Move the mixture to the prepared pan and press it into an even, firm layer with the bottom of a measuring cup.
- Bake for 18 to 20 minutes, until the edges are golden and the center appears dry.
- Cool in the pan for about an hour.
- Use the parchment to lift out the bars, then cut into 12 pieces.
Switch up the mix-ins
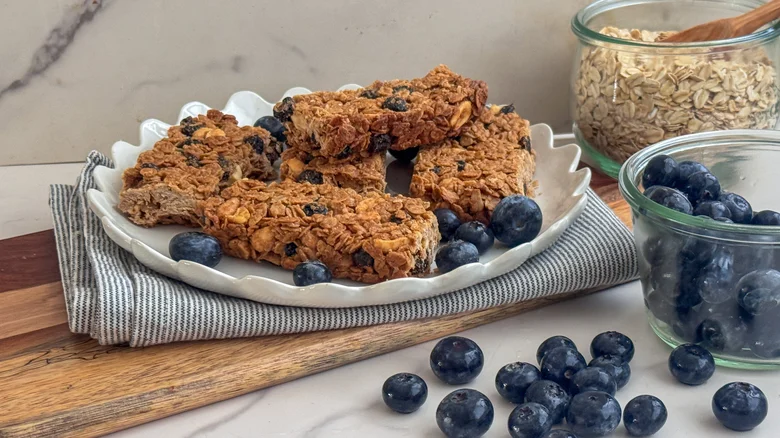
The recipe’s dried blueberries and peanuts provide chewy and crunchy bites. If you’re considering other additions, keep the total mix-ins in mind so the bars can still bind together.
 Tasting Table/Miriam Hahn
Once the oat-bar recipe is familiar, changing the mix-ins is an easy way to keep each batch interesting. For a sweeter chocolate note, stir in about ⅓ cup of white or dark chocolate chips. Cacao nibs bring a less-sweet chocolate flavor; use ½ cup. Mini M&M’s add crunch as well as chocolate, and about ¼ cup can go into the batter—or a few can be pressed into the tops just after baking. Peanut butter chips, butterscotch chips, and toffee bits are other options.
For contrast, try crushed pretzels, or break graham crackers into the mixture for a nostalgic snack-bar feel. A couple of tablespoons of hemp seeds add protein. You can also pair the dried blueberries with ¼ cup chopped dried apricots, or add dehydrated banana chips.
How to store and freeze the bars
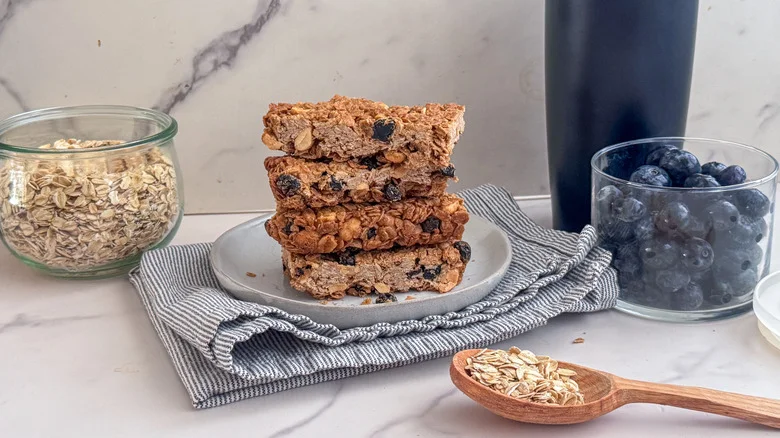
Give the bars about an hour to cool before packing them away. That wait matters: seal them while they’re warm, and condensation can soften them. Once cool, they’ll keep in an airtight container on the counter for up to a week, or in the refrigerator for up to two weeks. Slip parchment between layers to keep the bars from sticking, and portion them into individual bags if you want an easy grab-and-go snack.
Freezing is a good option for a larger batch. Wrap each bar in plastic wrap, then store the wrapped bars in a freezer-safe container. You can take one out for a lunch bag or a hike whenever you need it.
Discussion
Sign in to join the discussion.